Create Campaign
You create campaigns in the Campaign Wizard.
To get going, from pretty much any page select the Create Campaign button in the header.

If you are an Agency, you first select a client. If you are advertising for your own company you will not see this option.
Schedule and budget
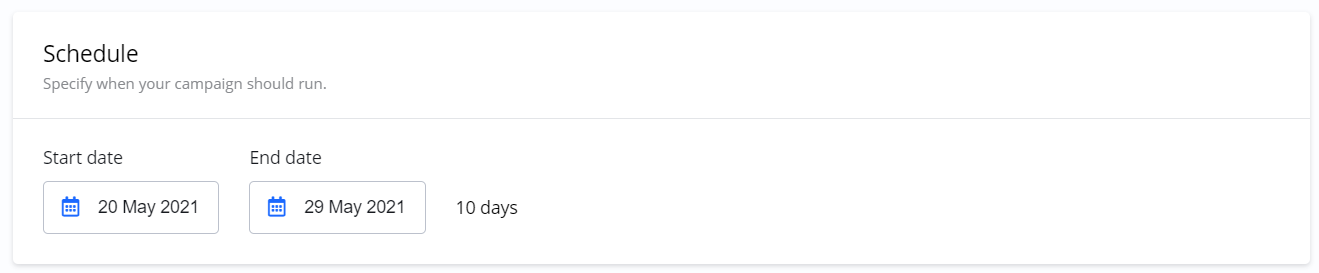
You will set the Start and End date. You can always change the dates later, at least until you have checked out the campaign. After checkout you can only change the end date.
You only pay for what is delivered
For example, if you set your campaign budget to $900, you will pay $900 upfront. In case the campaign does not deliver impressions or clicks for $900, you will receive a refund. You only pay for what was actually delivered.
Budget
Depending on the Price and Budget models you choose, the options for Budget will be different.
Budget for impression based campaigns (CPM):
You can switch between setting budget in money or impressions.

Availability
If you have selected the pre-pay option, the platform is checking availability continuously. Between each step the Platform is checking if the impressions you are looking for are available. You will be notified if there is limited availability.
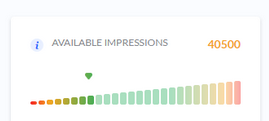
If availability is high this is good news for you.
You can consider increasing your budget, extending your campaign period or narrowing your targeting for a more targeted campaign.
If availability is low for you, maybe even to the point where you cannot checkout your campaign, you can always adjust your schedule, possibly lowering your budget and consider broadening your targeting.
Targeting options
Next step(s) when creating your campaigns is targeting. This is where you control where, when, to whom and how often your ads are shown. Remember, depending on the product you selected, your options for each step might be different.
For a more complete description of targeting check the Targeting section.
Add-on prices for targeting
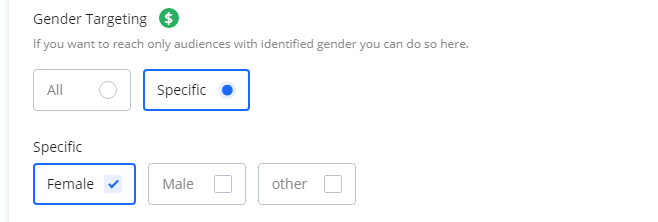
Some targeting options might have additional costs. You can identify these by a green $-icon next to the targeting name. For example here where Gender targeting has an add-on price.
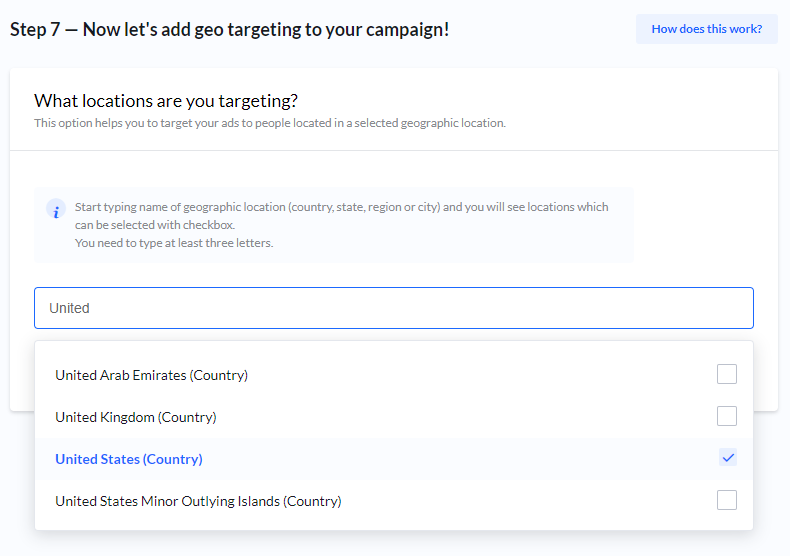
Geography
Geography targeting is probably the most commonly used targeting method. Here you can specify if your ads should be shown only to audiences viewing your ad from specific locations.
Age and Gender
If available you can set Age and Gender targeting.
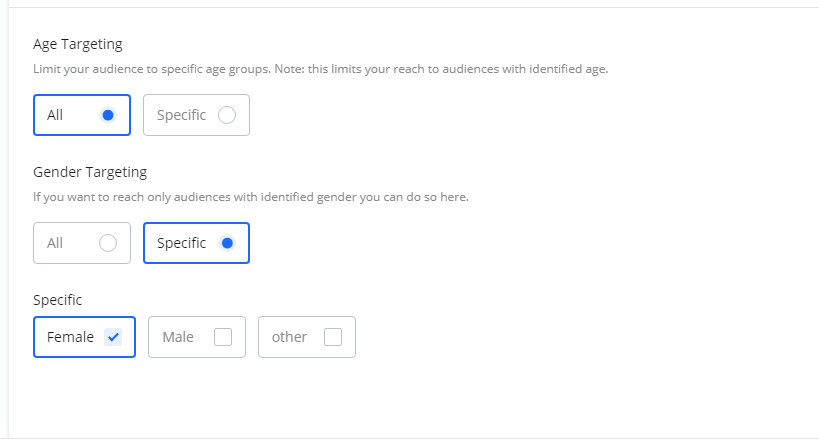
Note: Age and gender targeting limits your reach to audiences that are actually identified with age and gender. If you want to reach everyone, select All.
If you are using these targeting options, and you notice delivery of impressions is low, also consider setting these to All.
Creatives
After targeting you can add you creatives. Creatives are your actual ads which will be shown to your audience.
You can Add Creative directly or skip this step and Add Creative later.
For a more complete description of creatives check the Creatives section.
Review - Final step!
Set a descriptive Campaign Name and review your campaign.
When you are done you can either Save and pay later or Checkout.
Campaign status
Campaigns are stored automatically at the Budget and Targeting steps in the wizard.
New campaigns are stored as DRAFT.
After you have checked out a campaign, status changes to PENDING.
Once start date is reached and there is at least one approved creative, status changes to LIVE.
Checkout
Read all about your checkout options here.